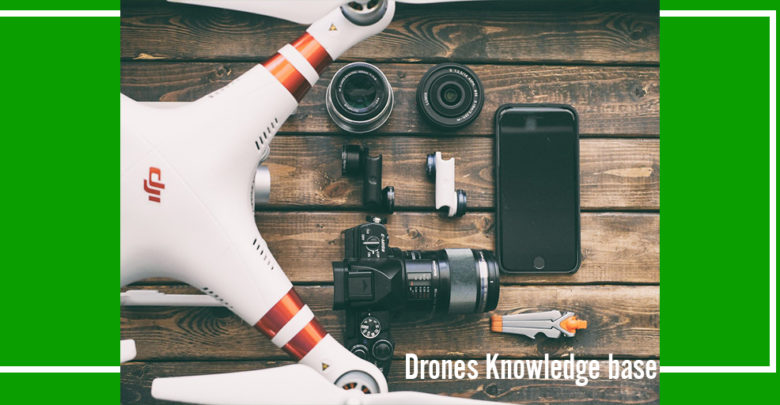
Drones Knowledge base
Eve Online Pirate Hunting Guide – How To Make ISK By Killing Rats
There are lots of ships in EVE Online, and lots of places to go. The high security systems are generally pretty safe, as there are many security patrols and gun emplacements to protect you from pirates or attacks by other players. But if you want to make money, you don’t want safe. You want danger. From danger comes the possibility of pirate attacks, and it will be your job to kill those scurvy devils. Argh!
PIRATE HUNTING – BASIC STRATEGY
In order to hunt pirates, you must go to them. Pirates lurk in asteroid belts that can be found in virtually every solar system out there. The only place you won’t find them are 1.0 security systems. The general rule is: the lower sec status a system has, the more powerful pirates inhabit its belts.
1. Go to a system with lots of asteroid belts. 2. Warp to an asteroid belt. Right-click in space for quick access to the list of celestial bodies. 3. Look for pirates. 4. If no pirates are there, warp to the next belts. 5. If pirates are there, kill them. 6. Take their loot. Salvage wrecks if you can. 7. Repeat until you run out of ammo, need repairs, or fill your cargo hold. 8. Go to a station, re-equip, drop off your loot, and go out and do it again.
Seems simple, right? It is. You can do this as much as you want, and as long as you don’t get in over your head by attacking pirates that are too powerful, you will be able to make some fairly easy ISKs.
Start in a high security system and experiment with various types of pirates. Once you’re confident of your ability to fight through anything the system’s belts have in store, move to a lower security one. Just remember not to stray below 0.5 or you’ll find yourself in an entirely different reality.
PIRATE HUNTING – COMBAT TACTICS
The basics of NPC hunting do not vary too much from the mock fight in the game tutorial. We’ll cover the most important aspects to help you avoid the most common mistakes. You’ll finish the tutorial missions with a frigate. Stick to it for the time being. All the recommended character builds listed above give you racial frigate skill at level 4. This allows you to train Destroyers or even your race’s cruisers right away. The latter possibility is only worth it if your corporation has access to 0.0 space. Destroyers are perfectly capable of killing all high sec rats and their loss doesn’t hurt you nearly as much as losing a cruiser would.
Frigate-class ships (destroyers included) can’t tank damage very well. For that reason you should use long-range weapons against NPCs. That means missiles and railguns for Caldari, railguns and drones (with range skills trained) for Gallente, artillery for Minmatar pilots and beam lasers for the Amarr. Frigates and destroyers mount ‘small’ guns and ‘standard’ missile launchers (called light by some players) so make sure you fit the right type.
The final step is picking the right ammo type. Look under ‘Ammunition & Charges’ in the Market window.
Railguns consume Small Hybrid Charges. There are 8 different types of charges, varying between high-power short-range Antimatter to low-power long-range Iron. You can start with Lead, the type with balanced stats. You can always switch to a type more suited to your style.
For artillery, look under Small Projectile Ammo. Once again you’re presented with 8 types of ammunition. EMP is the most powerful but shorter ranged type and its opposite is Carbonized Lead. Depleted Uranium is your middle of the road starter.
Beam Lasers utilize Frequency Crystals, from the shortest ranged Multifrequency, to long-range Radio. For your first fights, try the Standard. Crystals degrade over time. They aren’t consumed with each shot like other charges, but they need to be replaced occasionally.
Missiles also have their own unique properties. All four standard missile types have the same range potential and damage yield. They differ in the type of damage dealt to targets. Check Appendix A for more information on NPC types and the most effective damage to use against them.
Once you come across a target (one of those red crosses), select it and lock on. If they are too far out of range, select the target, approach it, and once you are in range, lock on. Select the target again and choose ‘orbit’. Select one of the ranges in the list (15km is usually safe) and then wait until the target is in range of your weapons before you fire. You can also determine the optimal range of your guns by right-clicking them while in space, choosing ‘info’ and finding the ‘Optimal’ value. You don’t need to be at the exact given range as it’s actually ‘maximum optimal’. Above it you’ll hit for less (if you can hit your target at all) but below that distance your guns will work best.
After you have opened fire, select any other targets and lock onto them. Once your current target is destroyed, wait until your weapons have stopped firing (you will know they have stopped firing when the weapon icon isn’t lit in green), and fire your weapons at the new target. Repeat this for as many enemies are present until they are destroyed.
Taking Damage
You are bound to take hits, and there are several ways to cope with that. Caldari ships should focus on maintaining their shields. Fit a Shield Booster module to redirect capacitor energy into shield recharge. Missile launchers work best coupled with shield boosters because they don’t need energy to fire. Amarr and Gallente can tank much more effectively using their armor. That means they need at least one Small Armor Repairer in their low fitting slot. Minmatar frigates are fast and agile. They should use an afterburner to maintain high speed making themselves difficult to hit. This method is called speed-tanking and works with all races’ ships to some extent. Minmatar pilots can also employ armor repairers. Just keep the golden rule of tanking in mind: never, EVER mix armor and shield tank together.
Reloading
You don’t want to warp to a new asteroid belt, stumble upon 5 enemy frigates, and find that all your guns are down to 3 charges. Also, reloading takes 10 seconds regardless of your skills and weapon type. That’s ten seconds of taking damage without the ability to shoot back so make sure it doesn’t happen in combat. Get into the habit of reloading all your weapons once you complete a fight and are collecting the loot. Also, keep an eye on the ammo supply in your cargo hold. If you are getting low, go back to the station and resupply.
Jamming
Some pirates carry ECM equipment that will prevent you from locking onto them for about 20 seconds. If you don’t have the shields to stand up to 20 seconds of attacks, you will probably want to upgrade to a better ship (usually not necessary unless you don’t have at least a destroyer) or just warp away and come back. Unfortunately and contrary to the popular belief, NPC jammers, unlike player-operated ECM, cannot be countered by ECCM modules.
Chaining
In Empire space you’ll be jumping between systems in search of targets to kill. In 0.0, especially in a relatively safe system, it’s better to chain pirate spawns. You need to be able to kill battleship rats so this technique is not suited for beginners. In a spawn where battleships are mixed with other NPCs, only kill the battleships. Wipe out any non-battleship groups. After an hour, you should be getting valuable battleships in every asteroid belt thanks to the game mechanics that generate each NPC group randomly but replace ship losses once a group is in game.
Ratting can be a lucrative career if done correctly. Knowing your enemy, knowing their powers and limitations (as well as your own) and planning beforehand are the keys to making the most of your time spent ratting. With a little thought and some basic preparations, you can start making significant ISK.
Now: You might be wondering what to look for when choosing your drone. It’s easy: Right here, you will find the most important specs to look for. We’ve also included a drones knowledge base so that you can quickly learn the drones basics. Bada bing, bada boom — you’re almost ready for takeoff!